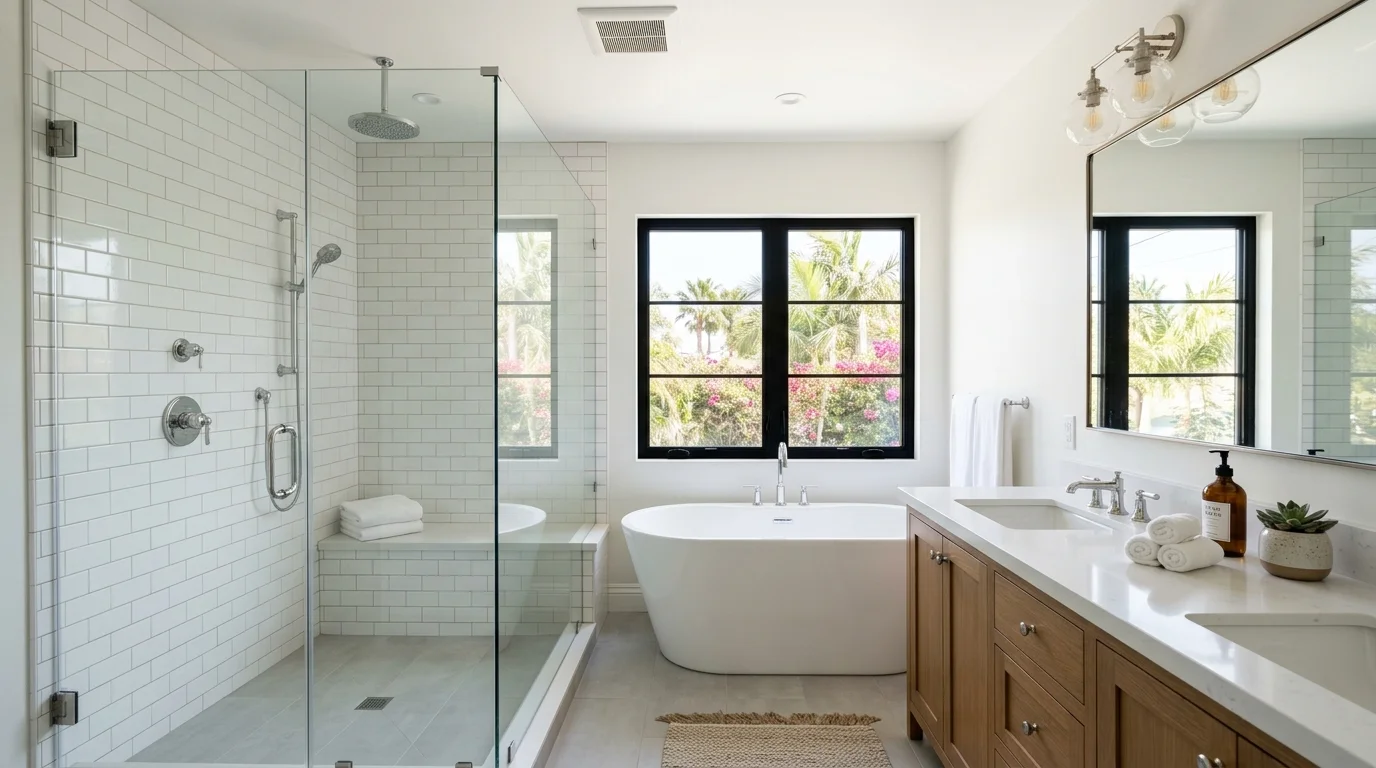
A Lakeside bathroom addition starts with one defining choice: convert existing space or expand the home. Either path needs room for the fixtures, workable utility routes, and a permit plan. Those details should be tested before finishes and fixtures drive the design.
Finding the space: closet, garage, or an addition
Start by comparing possible locations, not tile samples. A full bathroom needs space for a toilet, sink, and bathing area. It also needs practical paths for drainage, water, electricity, and ventilation.
An oversized closet may keep the project inside the current walls. That can preserve the home’s footprint, but storage disappears. Door placement and nearby rooms may also limit the layout.
A garage conversion can offer more floor area. The designer still needs to study floor levels, access, natural light, and utility routes. The plan should also show how the new bathroom connects to the living area. A bathroom that feels detached from the house may be awkward every day.
Building outward gives the designer more freedom. It also introduces exterior walls, roofing, foundation work, and connections to the existing structure. That makes early coordination especially important.
For each option, sketch the fixtures at their real sizes. Then mark door swings, cabinet depth, and clear walking paths. Check whether someone can reach the sink without squeezing past another fixture. Think about who’ll use the room and when.
A licensed remodeler can compare these options before detailed design begins. Our full bathroom remodeling service connects Lakeside homeowners with independent local pros who can assess the proposed space. Bath Pro SD makes the connection and performs no construction work.
Don’t select a room only because it’s empty. The best location balances daily convenience with workable connections behind the walls.
Getting drain and vent to the new room
Drain and vent routing can decide whether a proposed location makes sense. A beautiful floor plan won’t solve a route blocked by framing, finished rooms, or site conditions.
The remodeler should first identify the existing drainage system. From there, the plumbing pro can evaluate possible connections for the toilet, sink, and bathing fixture. Pipe sizing, route, access, and venting should be resolved through the project’s design and permit process.
Ask what must be opened to reach the proposed connections. The route might affect floors, walls, ceilings, or nearby rooms. That disruption belongs in the planning conversation before the bathroom layout is approved.
Access also matters after construction. A design should account for valves, traps, and other service points the licensed pro identifies. Hiding every component without considering future access can complicate later repairs.
Some Lakeside properties may use an onsite wastewater system rather than a sewer connection. The specific County rule for adding fixtures to a septic property couldn’t be confirmed from the available primary material. If your property uses septic, contact the County of San Diego before finalizing the fixture plan. Ask which department reviews the property and what current documents it requires.
Bring any available property records to the first site meeting. Existing plans, prior permits, and information about earlier plumbing work can help the pro understand the house. They don’t replace an inspection, but they can reveal questions sooner.
For a closer look at this stage, see our page on bathroom plumbing rough-ins and repiping. The matched professional performs the plumbing assessment and construction.
Supply, electrical and ventilation runs
The new room also needs coordinated water, electrical, and ventilation plans. These systems share limited space inside walls and ceilings. Their routes should be designed together.
The plumbing plan covers hot and cold water delivery. It should identify where lines enter the room and how each fixture connects. A licensed pro can also assess existing conditions that aren’t visible from the finished surfaces.
The electrical plan should reflect how the bathroom will be used. Discuss lighting at the mirror, general room lighting, switches, receptacles, and any planned powered fixtures. Product choices matter because different fixtures can need different connections.
Ventilation needs an actual route, not just a spot on the ceiling plan. The designer and contractor should identify where the duct can travel and where it can terminate. Don’t assume the shortest-looking line on a drawing works inside the structure.
Keep all three plans aligned as the layout changes. Moving a vanity may affect lighting and water connections. Changing the shower location may alter plumbing and ventilation routes. A late fixture switch can create conflicts that weren’t present in the approved layout.
The California Energy Commission publishes statewide information through its official website. However, specific Title 24 fixture, fan, and lighting requirements weren’t verified for this article. Ask the licensed professionals and the County reviewer which current standards apply to your scope.
Before approving fixtures, share their product documents with the remodeler. The pro can check them against the planned connections and the permit documents. This step is especially useful for lighted mirrors, specialty tubs, and other powered products.
Where the permit path starts
Lakeside is an unincorporated San Diego County community. Building permits there go through County Planning & Development Services, not the City of San Diego.
Start by confirming that the property is within the County’s jurisdiction. Use the parcel information, not only the mailing address. Then ask County staff how the proposed scope should be submitted.
Permit needs turn on the actual work. This article doesn’t provide a trigger checklist, fee, turnaround estimate, or submittal list because those details weren’t confirmed from a current County bulletin. County Planning & Development Services sets the applicable process for an unincorporated property.
The project description should be specific. State whether the plan converts existing interior space or expands the building. Identify the intended fixtures and the systems being changed. If septic is involved, tell the County that before the layout is fixed.
Ask the remodeler who’ll prepare the plans and who’ll communicate with the County. Also ask how requested revisions will be handled. The contract should clearly assign those responsibilities.
Check the professional’s license through the California Contractors State License Board. Search the exact name and license information shown on the proposal.
California limits a home improvement downpayment to $1,000 or 10 percent of the contract amount, whichever is less. That wording matters because the lower amount controls. Review the written payment schedule before signing.
Permitting isn’t a final box to check after design. It starts while the room location, plumbing path, and construction approach are still flexible.
Converting existing space vs building new
An interior conversion works within the home’s present exterior walls. A new addition creates more enclosed area. The better choice depends on the property, the proposed bathroom, and what the household can give up.
A closet conversion may preserve the garage and yard. It also removes storage and may create a compact room. Combining adjacent spaces can improve the layout, but the pro must assess the walls and systems involved.
A garage conversion may offer a larger planning area. Look closely at how users will enter the room. A bathroom intended for a bedroom should feel connected to that bedroom, not reached through a utility zone.
An outward addition preserves interior rooms. It may also allow a layout shaped around the bathroom’s purpose. The design must still connect cleanly to the existing house and its utility systems.
Compare the options on the same worksheet. Include lost storage, changes to nearby rooms, utility access, exterior work, and the permit path. Don’t compare only the finished bathroom drawings.
If the immediate need is a toilet and sink, review the practical differences in our guide to adding a half bath in San Diego. A half bath may fit some households, but it doesn’t replace a bathing space. Decide based on how the room will actually be used.
Have the licensed pro investigate the leading options before you commit to one. Opening selected areas or reviewing existing records may expose conditions a surface inspection can’t settle. The goal is a plan based on the house, not an attractive sketch alone.
When to call us
Call when you’ve identified possible space but need a licensed professional to assess the layout, utility routes, and construction approach. Bath Pro SD can match you with an independent local pro, but it doesn’t perform the work itself. Call us at (858) 400-4896 and we’ll connect you with a licensed local bathroom remodeler.