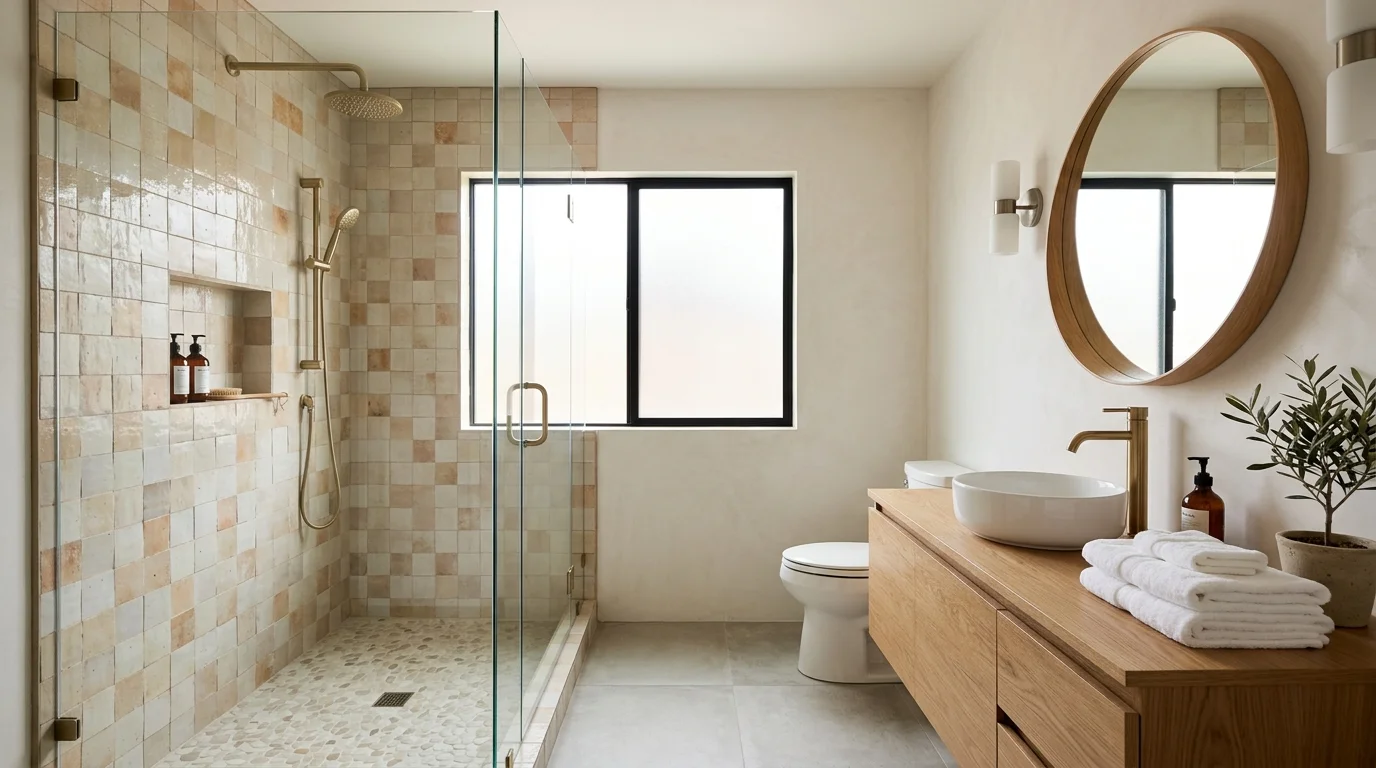
Shower tile installation in San Diego follows a clear sequence: demolition, preparation, waterproofing, layout, setting, grouting, and curing. The exact calendar depends on the shower, chosen materials, and conditions uncovered during demolition. One phase may fill a workday, while another may need additional time before the next step begins.
Demolition and what’s behind the old tile
The first workday often changes the project’s direction. The installer removes the old tile and exposes the assembly underneath. Until that surface is visible, nobody can fully confirm what condition it’s in.
Demolition may reveal a sound base that needs routine preparation. It may also expose loose material, staining, soft areas, old repairs, or uneven framing. Those conditions affect what happens next. A careful installer won’t cover questionable material just to keep the original schedule moving.
Before demolition starts, confirm what the written scope includes. It should explain which surfaces are being removed and how debris will be handled. It should also address what happens if concealed damage appears. That conversation is easier before the wall is open.
This is also when a tile-only plan can become a broader shower remodeling project. Plumbing locations, niches, benches, doors, and surrounding walls all meet the tile somewhere. Changes to those elements need coordination before the new surface is built.
Permit responsibility depends on the property and project scope. Within the City of San Diego, homeowners can confirm current requirements with Development Services. Homes in unincorporated communities use San Diego County Planning & Development Services. Incorporated cities such as Chula Vista, El Cajon, Encinitas, and Oceanside run their own building departments.
No verified permit checklist or fee applies to every shower project. Ask the appropriate jurisdiction about the exact address and planned work. The installer should also explain who will handle any required permit.
Substrate and waterproofing before a single tile goes up
Fresh tile shouldn’t be the first new material placed in the shower. The installer must first prepare the surface that will support it and complete the selected water-management system.
The substrate needs to match the tile assembly being used. The installer checks its condition, alignment, joints, corners, and transitions. Uneven or unstable areas need attention before layout begins. Tile can’t correct every problem hidden underneath it.
Waterproofing comes next in the sequence, although the exact products and steps vary. Some systems use sheets, while others use applied materials or coordinated components. Mixing unrelated instructions can create uncertainty. Ask which complete system the installer plans to use and request the manufacturer’s current installation information.
Pay attention to penetrations and transitions. The shower valve, showerhead connection, niche, curb, bench, and drain each interrupt the surrounding surface. Their details should be decided before tile covers the work. A late change can disturb finished preparation or force an awkward tile cut.
This preparation stage may look quiet compared with demolition. It still deserves close attention. Ask the installer to show you the prepared shower before the first tile goes up. You don’t need to direct the trade work. You’re confirming that the planned layers and key transitions haven’t been skipped or hidden.
For projects involving shower walls, floors, or surrounding bathroom surfaces, our bathroom tile and flooring service connects homeowners with licensed independent pros. Bath Pro SD makes the connection and performs no physical work.
The specific shower pan and waterproofing code requirements couldn’t be confirmed from the approved primary sources for this page. Don’t rely on a generic online checklist. Confirm the current requirements with the building department serving your address and the licensed contractor responsible for the work.
Layout, the first course, and why it sets everything
Layout turns selected tile into a finished composition. Before setting anything, the installer studies the usable wall dimensions, tile size, joint spacing, edges, corners, and focal points. The goal is to understand where full pieces and cuts will land.
The first visible course establishes the pattern above it. If that starting line wanders, later rows can make the problem easier to see. Openings and corners also matter. A layout that looks balanced on one wall may leave a narrow cut beside a niche or plumbing trim.
Ask to review the main layout before setting begins. Focus on the areas your eye will catch first: the entry, back wall, niche, valve wall, and outside edges. If the tile has strong color or pattern changes, discuss how pieces will be distributed. Intentional variation looks different from an accidental cluster.
Your tile choice affects these decisions. Large pieces, small mosaics, textured surfaces, and directional patterns don’t create the same layout challenges. Our bathroom tile buying guide can help you compare appearance and practical selection questions before ordering.
San Diego bathrooms also vary in shape and setting. A compact shower in City Heights may need a different visual approach than a larger enclosure in Encinitas. The process stays disciplined, but the layout shouldn’t be copied blindly from another room.
Once setting starts, avoid making casual design changes. Moving a niche line or changing the pattern can affect cuts across several surfaces. If a change is necessary, ask the installer to explain its effect before approving it.
A strong layout should look deliberate from the bathroom entrance. It should also respect the actual shower geometry rather than forcing an ideal drawing onto walls that may differ slightly.
Grout, cure time, and the wait nobody warns you about
Once the tile is set, the shower may appear finished. It isn’t ready for normal use yet. Setting materials, grout, sealants, and other products may each require their own waiting period.
There isn’t one responsible cure-time number for every installation. Product, temperature, humidity, tile type, joint depth, and assembly details can change the sequence. The correct instructions come from the manufacturers of the materials actually used. Ask the installer for those instructions instead of relying on a general timeline found online.
Grouting fills the planned joints and changes the shower’s final appearance. Color can make the grid prominent or quiet. The installer should prepare the joints, apply the selected grout, and clean the tile surface according to that product’s directions.
Corners and changes of plane may receive a different treatment from the field joints. Ask how those transitions will be finished before grouting begins. The answer should match the selected system and the installer’s written scope.
After grouting, other finish work may remain. That can include edge details, trim, plumbing plates, accessories, or shower-door coordination. Don’t assume the shower is ready because the tile surface looks dry.
Request a clear handoff from the installer. It should identify the earliest date and time the shower can be used, along with any product-specific care instructions. Keep the product names and documentation with your project records.
The wait can be inconvenient, especially when the home has one working shower. Plan around the installer’s confirmed sequence. Avoid pressing for an earlier opening based only on appearance. A surface can look finished while the specified curing period is still underway.
Signs the tile work was done right
Start the final review from the bathroom doorway. The layout should read as one planned surface, not a collection of unrelated cuts. Lines should look consistent, focal areas should feel balanced, and visible edges should have a deliberate finish.
Then move closer. Look across the wall from several angles. Check whether adjacent tiles sit evenly and whether any raised edge catches light unexpectedly. Some handmade and textured tiles are intentionally irregular, so compare the finished result with the material you approved.
Inspect the joints for consistency. Look around the valve trim, showerhead connection, niche, bench, curb, drain, and outside corners. These areas require careful cuts and clean transitions. Removable trim should sit as intended, without serving as a disguise for oversized openings.
Review the floor with the installer and ask for a drainage demonstration before final acceptance. If water remains where you didn’t expect it, point out the exact location. Don’t rely on memory or a broad statement. A photo can help document a visible concern.
Check the tile surface for grout haze, adhesive residue, chips, and marks. Also inspect the nearby walls, flooring, fixtures, and doorway for construction debris or damage. Complete this review under good lighting.
Paperwork matters too. Keep the contract, approved change orders, material names, color selections, care instructions, and any terms provided by the independent contractor. If you haven’t already done so, verify the contractor through the official CSLB license check.
A finished shower shouldn’t require you to guess what was installed or when it can be used. Ask questions while the installer can still show you the work and explain each decision.
When to call us
Call when your shower needs more than a cosmetic patch, or when demolition, waterproofing, layout, and finish work need one coordinated plan. Call us at (858) 400-4896 and we’ll connect you with a licensed local bathroom remodeler.