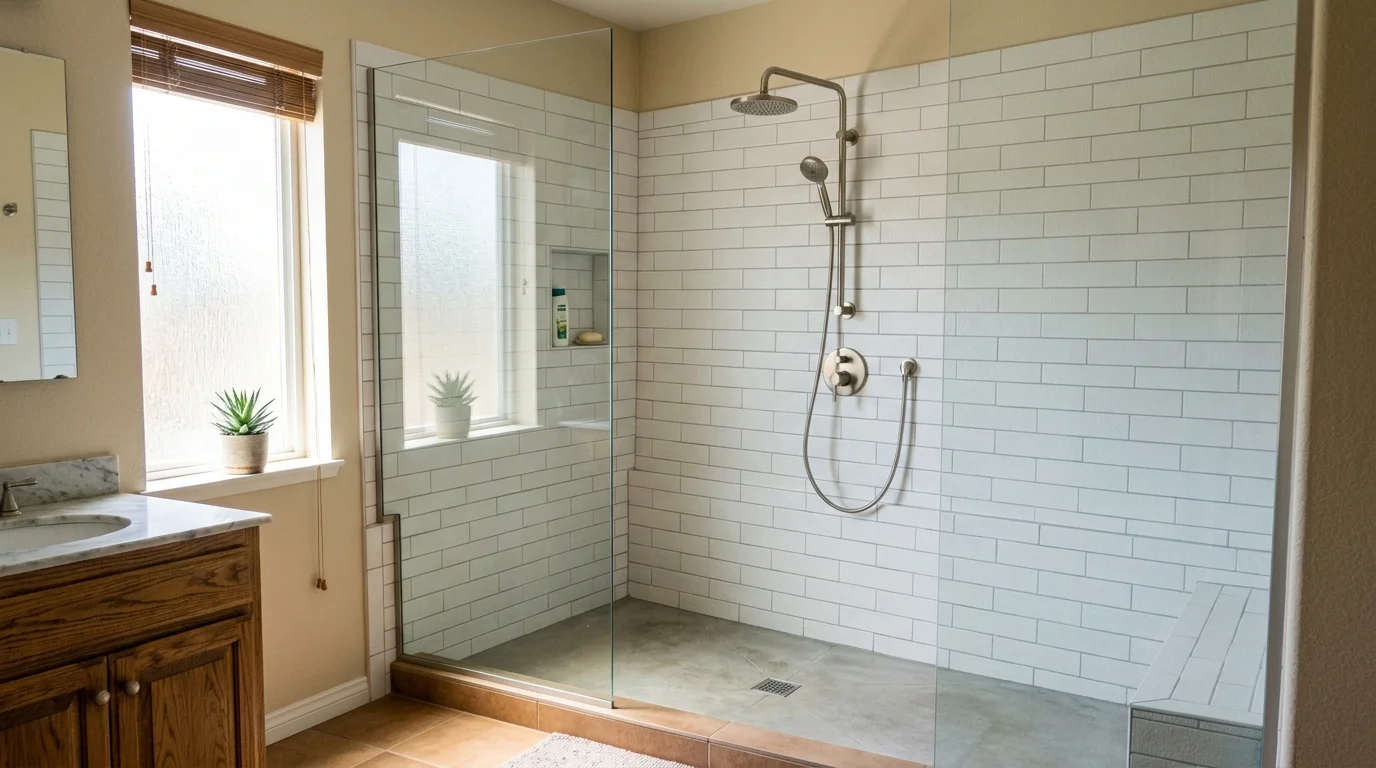
Plumbing for a tub to shower conversion starts below the finished surface. The old drain may not match the planned shower outlet. The plumber also needs to assess the trap, vent, supply lines, and valve.
Why the drain has to move and how far
A tub drain usually sits near one end of the fixture. A new shower may place its drain somewhere else within the footprint. That difference determines whether the drain stays, shifts slightly, or needs a new route.
There isn’t one correct relocation distance for every conversion. The answer depends on the selected shower base or site-built layout. It also depends on the existing pipe location and available floor access. The distance should come from field measurements, not a standard estimate.
The finished drain cover tells only part of the story. The plumber needs to locate the connection below it. That connection must work with the trap and the line leaving the bathroom. A drain that looks close from above may still require work underneath.
Select the shower layout before approving the plumbing plan. Changing the drain position after demolition can affect the base, tile layout, and labor involved. Ask the remodeler to mark both drain centers and explain the proposed connection.
Floor construction also shapes the approach. A drain cast into a slab foundation presents different access than one below a framed floor. Homes, condos, and additions across San Diego County don’t all share the same floor assembly. The address alone won’t reveal what sits under the bathroom.
A proposal written before the floor opens should separate confirmed work from possible hidden conditions. That keeps an unseen fitting or blocked route from being presented as a known fact. Our tub-to-shower conversion service connects homeowners with licensed local pros who can inspect the actual layout.
Trap, vent and slope under the floor
The visible drain is the entry point to a larger system. Below it, the plumber evaluates the trap, branch line, and vent connection. Those parts need to work together within the existing bathroom layout.
The trap retains water between uses. The vent supports the drainage system as water leaves the shower. The branch line carries that water toward the home’s existing waste piping. Changing one connection can affect how the others are reached.
Slope matters because this portion of the system relies on gravity. However, this page doesn’t publish a universal slope or vent distance. We couldn’t confirm project-specific figures from the approved primary sources for this article. The applicable measurements should come from the governing code, the pipe arrangement, and the authority reviewing the work.
Ask the plumber to identify the existing pipe direction before closing the floor. The plan should show where the new shower drain joins that line. It should also explain whether the existing trap and vent arrangement remains suitable.
Access can change the proposed route. A framed floor might offer room between structural members. A slab may require an opening around the drain path. Neither condition should be assumed before inspection.
Permit jurisdiction depends on the property. Within the City of San Diego, bathroom remodel permits are handled through Development Services. Whether a particular conversion needs a permit depends on its scope. We couldn’t confirm a reliable trigger checklist or fee for this page, so homeowners should check with the department directly.
In unincorporated communities, building permits go through San Diego County Planning & Development Services. Incorporated cities, including Chula Vista, Encinitas, and El Cajon, operate their own building departments. A licensed pro providing bathroom plumbing rough-in work should identify the correct jurisdiction before work begins.
Swapping a tub valve for a shower valve
The chrome handle isn’t the entire valve. The working valve body sits inside the wall. Supply piping feeds that body, while separate piping may lead toward the shower outlet and tub spout.
Removing the bathtub changes how those outlets are used. The remodeler and plumber need to decide whether the existing valve body fits the planned shower. They also need to confirm whether compatible replacement parts remain available. New trim doesn’t automatically mean there’s a new valve behind the wall.
Ask which parts will remain and which will be replaced. The answer should cover the concealed valve body, visible controls, shower outlet, and former tub-spout connection. If the old tub outlet won’t be used, the plumbing plan should explain how it will be addressed.
Wall access matters here. The valve body can’t be evaluated fully from the handle alone. Tile, backer material, or the wall surface on the opposite side may limit access. An adjacent closet sometimes offers another possible approach, but its usefulness depends on the actual wall layout.
Valve height and showerhead placement should be chosen with the intended user in mind. Those decisions also need to fit the selected shower system. Make them before the wall is rebuilt, not after the finished tile is installed.
Product compatibility deserves a direct check. A familiar brand name doesn’t prove that every trim kit fits every concealed valve. Ask the pro to record the valve model and the matching trim information. Manufacturer instructions should remain with the project records.
The broader tub-to-shower conversion guide covers layout and finish choices. For the plumbing portion, focus on what stays inside the wall. That’s where an apparently simple fixture swap can become a larger rough-in decision.
Pressure-balance and thermostatic valves
Pressure-balance and thermostatic valves manage mixed water in different ways. A pressure-balance valve responds to changes between the hot and cold supply pressure. A thermostatic valve senses mixed-water temperature and adjusts the blend through its internal mechanism.
Those descriptions don’t determine which valve belongs in a specific bathroom. The choice depends on the planned controls, shower outlets, existing supply arrangement, and selected product. It can also affect how users adjust temperature and water flow.
Some shower systems combine controls in one location. Others separate temperature control from volume or outlet selection. Decide how the shower should operate before ordering the concealed valve. The visible trim must match the parts installed behind the wall.
Ask the remodeler to name the exact valve model in the proposal. Then review its manufacturer instructions. Those instructions explain compatible trim, required connections, service access, and setup. Don’t rely on a showroom label or product photo alone.
Neither valve type guarantees a particular result in every home. Existing water pressure, supply piping, fixture selection, and installation all matter. Avoid promises that one valve will solve every pressure or temperature complaint.
This article doesn’t state a required temperature setting or claim that one valve type is mandatory. Those specifics weren’t confirmed in the approved sources for this page. The licensed pro should identify the applicable requirements and follow the selected manufacturer’s instructions.
Think about future service access as well. Concealed parts may eventually need inspection or replacement. Ask how the cartridge is reached and whether decorative trim can be removed without disturbing the surrounding wall. That conversation is easier before tile and fixtures are finalized.
What opens the floor and what doesn’t
Drain relocation is the main reason floor access enters the project. The plumber needs a workable path between the proposed shower outlet and existing waste piping. The size and location of that opening depend on what the inspection reveals.
A slab foundation may need to be opened along part of the route. A framed floor may require removal of subfloor within the shower area. Existing access from below can change the plan, but it doesn’t guarantee the drain can remain untouched.
If the new drain aligns with a usable existing connection, the opening may be more limited. That still needs confirmation beneath the surface. Matching two points from above doesn’t prove that the trap, fittings, and route below are suitable.
Valve work usually centers on wall access. It doesn’t automatically require opening the bathroom floor. Floor work may enter the plan if supply piping below also changes. Ask the pro to separate drain access, valve access, and finish removal in the written scope.
The finished bathroom floor outside the shower may or may not be affected. That depends on the drain route, access point, and boundary of the new shower. A contractor shouldn’t promise untouched flooring without first confirming those conditions.
Before work begins, request a simple access plan. It should identify the expected wall opening, floor opening, and any areas that might change after demolition. It should also state who handles the plumbing, base, wall repair, tile, and final connections.
Confirm the contractor’s license through the official California Contractors State License Board lookup. Bath Pro SD is a referral service and performs no physical remodeling work. The independent local pro handles the approved construction scope.
When to call us
Call before surfaces close if the drain route, trap, vent, or valve plan remains unclear. Bath Pro SD can match you with a licensed independent pro for a San Diego County conversion. Call us at (858) 400-4896 and we’ll connect you with a licensed local bathroom remodeler.